(cleanup) |
mNo edit summary |
||
| Line 1: | Line 1: | ||
{{External|rs}} |
{{External|rs}} |
||
{{Safe minigame}} |
{{Safe minigame}} |
||
| − | The '''Camelot training room''', also known as the "'''Knight Waves Training Grounds'''", is an activity located on the top floor of |
+ | The '''Camelot training room''', also known as the "'''Knight Waves Training Grounds'''", is an activity located on the top floor of {{Link|Camelot|Camelot Castle}}. Players must have completed the {{Link|King's Ransom}} quest to enter. A squire standing outside the door of the training room will explain how the Training Grounds work. |
| − | After completing the training room, players unlock the |
+ | After completing the training room, players unlock the {{Link|Chivalry}} (level 60 {{Link|Prayer|type=skill}} and 65 {{Link|Defence|type=skill}}) and {{Link|Piety}} (level 70 Prayer and 70 Defence) prayers. |
| − | You have to fight a total of eight tough knights (all over level 100) who each will drain certain |
+ | You have to fight a total of eight tough knights (all over level 100) who each will drain certain {{Link|combat}} stats. You '''cannot''' use {{Link|Prayer|type=skill}}, {{Link|Ranged|type=skill}} or {{Link|Magic|type=skill}} within the Training Ground. |
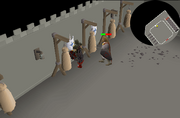
[[File:Camelot training room safe spot.png|thumb|You can wait until the health bar disappears, hit, and then return to the safespot and repeat until the knight dies.]] |
[[File:Camelot training room safe spot.png|thumb|You can wait until the health bar disappears, hit, and then return to the safespot and repeat until the knight dies.]] |
||
| − | One easy method of completing this minigame is to bring a |
+ | One easy method of completing this minigame is to bring a {{Link|Poison|poisoned}} {{Link|dragon dagger|img=Dragon dagger.png}} (preferably {{Link|Weapon poison(++)|p++|type=item}}), and just poison each knight and hide behind the {{Link|Dummy|dummies}} until the knights are weakened or killed by the poison. |
| − | + | {{Link|Restore potion|Stat restore potion|img=Restore potion(1).png}}s are '''VITAL''', especially to restore your Defence because some knights can lower your Defence extremely fast, and as your Defence is lowered, they have an even higher chance of lowering your Defence and, therefore, allowing other knights to fight you with lowered Defence. |
|
'''NOTE:''' If you feel like you cannot win, it's better to let yourself die within the training ground because all stats and run energy are restored upon death, and because that way you don't have to start over at the first knight. |
'''NOTE:''' If you feel like you cannot win, it's better to let yourself die within the training ground because all stats and run energy are restored upon death, and because that way you don't have to start over at the first knight. |
||
| Line 92: | Line 92: | ||
'''<span style="color:red">Warning:</span>''' '''Important! [[Magic]], [[Ranged]], and [[Prayer]] will not work!''' |
'''<span style="color:red">Warning:</span>''' '''Important! [[Magic]], [[Ranged]], and [[Prayer]] will not work!''' |
||
| − | A safe method to kill the knights is to hide behind the |
+ | A safe method to kill the knights is to hide behind the {{Link|dummy}} while positioning the knight to be diagonally across from you and behind the dummy. This way, you can run up to the knight and hit him without fear of retaliation as long as you run back behind the dummy (i.e. {{Link|flinching}}). A general rule of thumb on when it's safe to hit the knight is when the knight's health bar disappears. Using the {{Link|Dragon dagger|Dragon dagger (p++)|img=Dragon dagger.png}} {{Link|Special attacks|special}} with this method is a good way to take down the knight's health. |
'''Note:''' The Knights will respawn if you take too long to kill them, especially with this method. |
'''Note:''' The Knights will respawn if you take too long to kill them, especially with this method. |
||
| − | If you are going to fight the knights head on, you would need |
+ | If you are going to fight the knights head on, you would need {{Link|monkfish|type=item}}, {{Link|shark|type=item}}s or better. The knights can hit very high, up to 29 for the final knight. Keep in mind that there are 4 {{Link|Defence|type=skill}}-lowering knights, 3 {{Link|Strength|type=skill}}-lowering knights, and 3 {{Link|Attack|type=skill}}-lowering knights. With 70 Attack, 65 Strength and 65 Defence, a good strategy would be to bring a {{Link|whip}} and fill your inventory with 2 {{Link|Combat potion|img=Combat potion(1).png}}s, 4 {{Link|Saradomin brew|img=Saradomin brew(1).png}}s, 4 {{Link|Restore potion|img=Restore potion(1).png}}s, a {{Link|Dragon dagger|img=Dragon dagger.png}} and the rest with {{Link|monkfish|type=item}} or {{Link|shark|type=item}}. |
==Tips== |
==Tips== |
||
| − | * |
+ | * {{Link|Restore potion|img=Restore potion(1).png}}s are recommended over {{Link|Super restore|Super restore potion|img=Super restore(1).png}}s because you can't use prayer. |
| − | * Take multiple |
+ | * Take multiple {{Link|Restore potion|Restore|img=Restore potion(1).png}}s, {{Link|Saradomin brew|img=Saradomin brew(1).png}}s, and {{Link|Combat potion|img=Combat potion(1).png}}s if you plan on fighting the knights head on; however, this is not needed if you plan to use the aforementioned method involving the {{Link|Dummy|dummies}}. |
| − | * |
+ | * {{Link|Lobster|Lobsters|type=item}} or {{Link|swordfish|type=item}} are good enough for the minigame if you plan on using the dummy method (assuming around at least 65+ {{Link|Combat}} stats). If you are not confident in your combat stats or plan on fighting them head on, use {{Link|Shark|sharks|type=item}}. |
| − | * |
+ | * {{Link|Dharok the Wretched's equipment|Dharok's set}} works very well in this minigame if you {{Link|Flinching|hit-and-run}} behind the dummies, although risky if you have bad timing or lag. |
| − | * A |
+ | * A {{Link|Poison|poisoned}} {{Link|dragon dagger|img=Dragon dagger.png}} works especially well due to the damage the {{Link|Special attacks|special attack}} can provide and the poison's ability to whittle down the knights. |
| − | * Exploiting each knight's weakness is very effective. Taking a weapon (or multiple) capable of performing each |
+ | * Exploiting each knight's weakness is very effective. Taking a weapon (or multiple) capable of performing each {{Link|Combat Options|attack style}} and switching to match your current opponent's weakness will show a noticeable improvement over simply using one attack style. |
| − | * |
+ | * {{Link|Guthan the Infested's equipment|Guthan's}} is '''HIGHLY '''recommended. {{Link|Guthan's warspear|Guthan's spear|type=item}} has every combat style that the knights are weak to. With 70+ {{Link|Melee}} stats, the fight is a breeze. Be prepared to eat food if your {{Link|Hitpoints|HP|type=skill}} drops below 30. A recommended inventory would be four {{Link|Restore potion|img=Restore potion(1).png}}s, two {{Link|Super combat potion|Super combat potion(4)|img=Super combat potion(1).png}}s, and the rest of your inventory with food, {{Link|Monkfish|type=item}} or better. |
==Rewards== |
==Rewards== |
||
| − | * 20,000 {{Skill clickpic|Attack}} |
+ | * 20,000 {{Skill clickpic|Attack}} {{Link|Attack|type=skill}} experience |
| − | * 20,000 {{Skill clickpic|Strength}} |
+ | * 20,000 {{Skill clickpic|Strength}} {{Link|Strength|type=skill}} experience |
| − | * 20,000 {{Skill clickpic|Defence}} |
+ | * 20,000 {{Skill clickpic|Defence}} {{Link|Defence|type=skill}} experience |
| − | * 20,000 {{Skill clickpic|Hitpoints}} |
+ | * 20,000 {{Skill clickpic|Hitpoints}} {{Link|Hitpoints|type=skill}} experience |
| − | * Access to two new |
+ | * Access to two new {{Link|Prayer#Prayers|prayers}}: |
| − | ** |
+ | ** {{Link|Chivalry}} (requiring 60 Prayer & 65 Defence) |
| − | ** |
+ | ** {{Link|Piety}} (requiring 70 Prayer & 70 Defence) |
| − | * Ability to change one's spawn point to |
+ | * Ability to change one's spawn point to {{Link|Camelot}} |
[[Category:King's Ransom]] |
[[Category:King's Ransom]] |
||
[[Category:Kandarin]] |
[[Category:Kandarin]] |
||
Revision as of 15:28, 24 February 2019
The Camelot training room, also known as the "Knight Waves Training Grounds", is an activity located on the top floor of ![]() Camelot Castle. Players must have completed the
Camelot Castle. Players must have completed the ![]() King's Ransom quest to enter. A squire standing outside the door of the training room will explain how the Training Grounds work.
King's Ransom quest to enter. A squire standing outside the door of the training room will explain how the Training Grounds work.
After completing the training room, players unlock the ![]() Chivalry (level 60
Chivalry (level 60 ![]() Prayer and 65
Prayer and 65 ![]() Defence) and
Defence) and ![]() Piety (level 70 Prayer and 70 Defence) prayers.
Piety (level 70 Prayer and 70 Defence) prayers.
You have to fight a total of eight tough knights (all over level 100) who each will drain certain ![]() combat stats. You cannot use
combat stats. You cannot use ![]() Prayer,
Prayer, ![]() Ranged or
Ranged or ![]() Magic within the Training Ground.
Magic within the Training Ground.

You can wait until the health bar disappears, hit, and then return to the safespot and repeat until the knight dies.
One easy method of completing this minigame is to bring a ![]() poisoned
poisoned ![]() dragon dagger (preferably
dragon dagger (preferably ![]() p++), and just poison each knight and hide behind the
p++), and just poison each knight and hide behind the ![]() dummies until the knights are weakened or killed by the poison.
dummies until the knights are weakened or killed by the poison.
![]() Stat restore potions are VITAL, especially to restore your Defence because some knights can lower your Defence extremely fast, and as your Defence is lowered, they have an even higher chance of lowering your Defence and, therefore, allowing other knights to fight you with lowered Defence.
Stat restore potions are VITAL, especially to restore your Defence because some knights can lower your Defence extremely fast, and as your Defence is lowered, they have an even higher chance of lowering your Defence and, therefore, allowing other knights to fight you with lowered Defence.
NOTE: If you feel like you cannot win, it's better to let yourself die within the training ground because all stats and run energy are restored upon death, and because that way you don't have to start over at the first knight.
IMPORTANT: Do not leave the training room via door. It WILL reset your wave back to first one. If you die, you go back to the knight you left off on.
The Knight Waves
| Wave | Knight | Level | Hitpoints | Weak against | Stat(s) lowered | |
|---|---|---|---|---|---|---|
| 1 | 
|
Sir Bedivere | 110 | 90 | Slash attacks | Strength |
| 2 | 
|
Sir Pelleas | 112 | 99 | Slash attacks | Defence |
| 3 | 
|
Sir Tristram | 115 | 105 | Stab attacks | Strength |
| 4 | 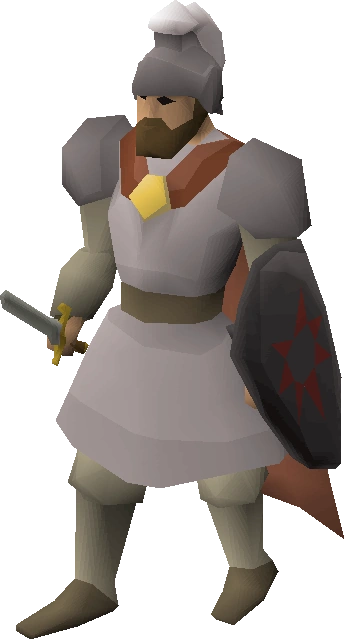
|
Sir Palomedes | 118 | 100 | Crush attacks | Attack |
| 5 | 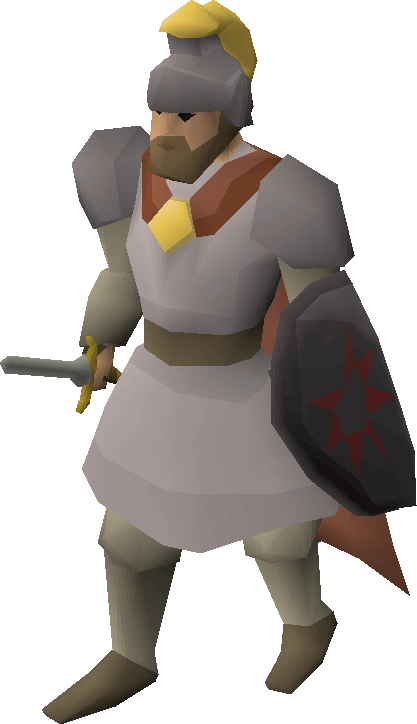
|
Sir Lucan | 120 | 105 | Crush attacks | Defence, Attack |
| 6 | 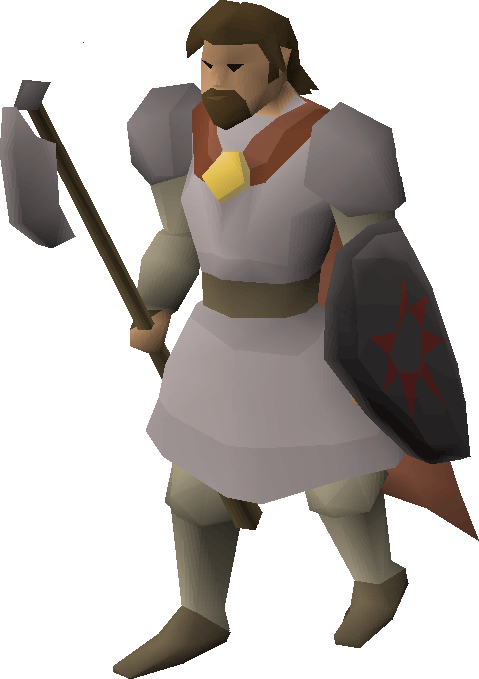
|
Sir Gawain | 122 | 110 | Stab attacks | Attack |
| 7 | 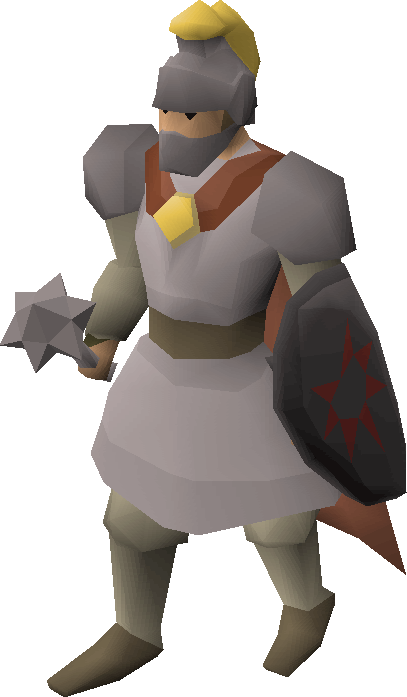
|
Sir Kay | 124 | 110 | Crush attacks | Defence |
| 8 | 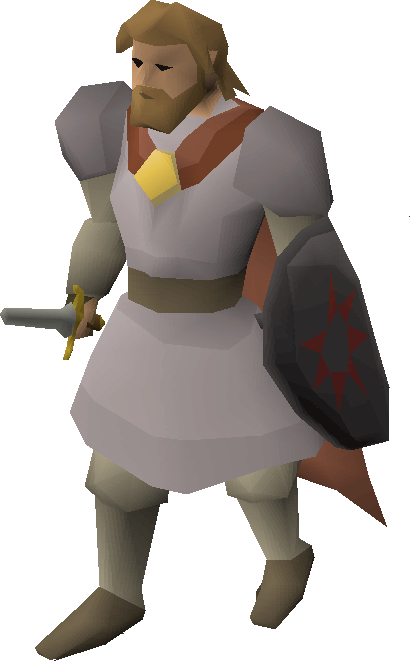
|
Sir Lancelot | 127 | 115 | Slash attacks | Defence, Strength |
Strategy
Warning: Important! Magic, Ranged, and Prayer will not work!
A safe method to kill the knights is to hide behind the ![]() dummy while positioning the knight to be diagonally across from you and behind the dummy. This way, you can run up to the knight and hit him without fear of retaliation as long as you run back behind the dummy (i.e.
dummy while positioning the knight to be diagonally across from you and behind the dummy. This way, you can run up to the knight and hit him without fear of retaliation as long as you run back behind the dummy (i.e. ![]() flinching). A general rule of thumb on when it's safe to hit the knight is when the knight's health bar disappears. Using the
flinching). A general rule of thumb on when it's safe to hit the knight is when the knight's health bar disappears. Using the ![]() Dragon dagger (p++)
Dragon dagger (p++) ![]() special with this method is a good way to take down the knight's health.
special with this method is a good way to take down the knight's health.
Note: The Knights will respawn if you take too long to kill them, especially with this method.
If you are going to fight the knights head on, you would need ![]() monkfish,
monkfish, ![]() sharks or better. The knights can hit very high, up to 29 for the final knight. Keep in mind that there are 4
sharks or better. The knights can hit very high, up to 29 for the final knight. Keep in mind that there are 4 ![]() Defence-lowering knights, 3
Defence-lowering knights, 3 ![]() Strength-lowering knights, and 3
Strength-lowering knights, and 3 ![]() Attack-lowering knights. With 70 Attack, 65 Strength and 65 Defence, a good strategy would be to bring a
Attack-lowering knights. With 70 Attack, 65 Strength and 65 Defence, a good strategy would be to bring a ![]() whip and fill your inventory with 2
whip and fill your inventory with 2 ![]() Combat potions, 4
Combat potions, 4 ![]() Saradomin brews, 4
Saradomin brews, 4 ![]() Restore potions, a
Restore potions, a ![]() Dragon dagger and the rest with
Dragon dagger and the rest with ![]() monkfish or
monkfish or ![]() shark.
shark.
Tips
 Restore potions are recommended over Super restore potions because you can't use prayer.
- Take multiple Restores, Saradomin brews, and Combat potions if you plan on fighting the knights head on; however, this is not needed if you plan to use the aforementioned method involving the dummies.
- Lobsters or swordfish are good enough for the minigame if you plan on using the dummy method (assuming around at least 65+ Combat stats). If you are not confident in your combat stats or plan on fighting them head on, use sharks.
- Dharok's set works very well in this minigame if you hit-and-run behind the dummies, although risky if you have bad timing or lag.
- A poisoned dragon dagger works especially well due to the damage the special attack can provide and the poison's ability to whittle down the knights.
- Exploiting each knight's weakness is very effective. Taking a weapon (or multiple) capable of performing each attack style and switching to match your current opponent's weakness will show a noticeable improvement over simply using one attack style.
- Guthan's is HIGHLY recommended. Guthan's spear has every combat style that the knights are weak to. With 70+ Melee stats, the fight is a breeze. Be prepared to eat food if your HP drops below 30. A recommended inventory would be four Restore potions, two Super combat potion(4)s, and the rest of your inventory with food, Monkfish or better.