Contact! is the 117th quest in RuneScape, released on 10 January 2007.
Details
| Start point | |
| Official difficulty | Master |
| Description | The High Priest of Icthlarin has problems again - this time with the inhabitants of Menaphos. Sophanem is recovering from the plague, yet most of its citizens are still trapped on the other side of the river. Diplomacy has failed and subterfuge beckons. Clearly, this is the sort of job that a shifty adventurer could excel in. |
| Length | Medium |
| Requirements |
|
| Items required |
Recommended:
3 Nardah Teleports to get to Nardah much more easily |
| Enemies to defeat | Giant scarab (level 191) |
Walkthrough
Starting off
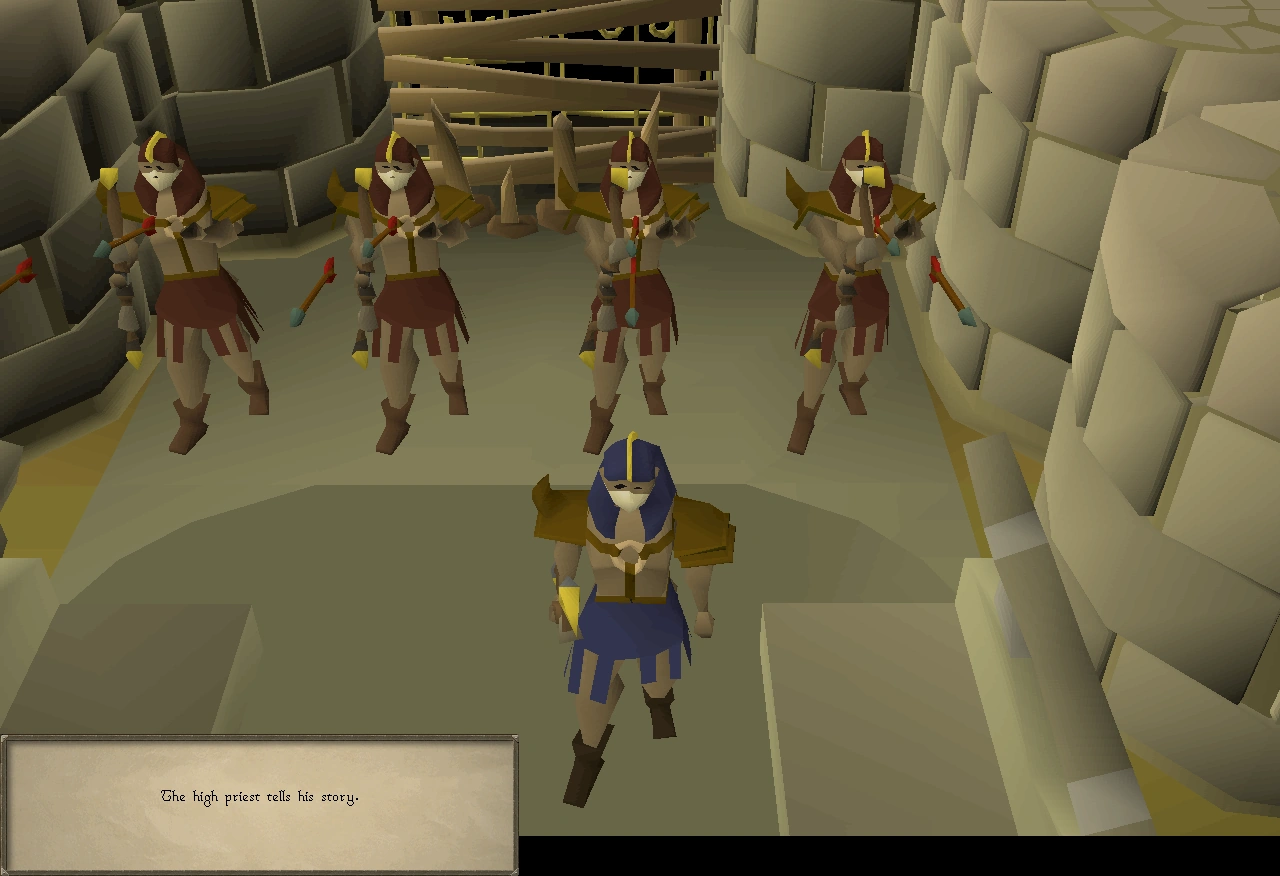
Travel to Sophanem and speak to the High Priest in the western temple. He will say that they have been having problems getting in contact with their sister city of Menaphos.
Coenus and his men refuse to negotiate peacefully.
Talk to the priest and ask him about ways of getting into Menaphos. Ask about any dungeons.
Talk to Jex, who is in the northeastern part of the city in a building with a broken altar. He will tell you how to access the dungeons beneath the building.
Go down a level and talk to the guard. He will sell you a torch for 200 coins, and a tinderbox for 50 coins. A bullseye lantern is a better choice because it will go out less often, but you must take your tinderbox into the dungeon. It is strongly recommended that you take good food, an emergency escape teleport such as the ectophial, a tinderbox, a light source, such as a bullseye lantern and an antipoison potion. Also, it is best not to bring any valuables in case of death.
Dungeon

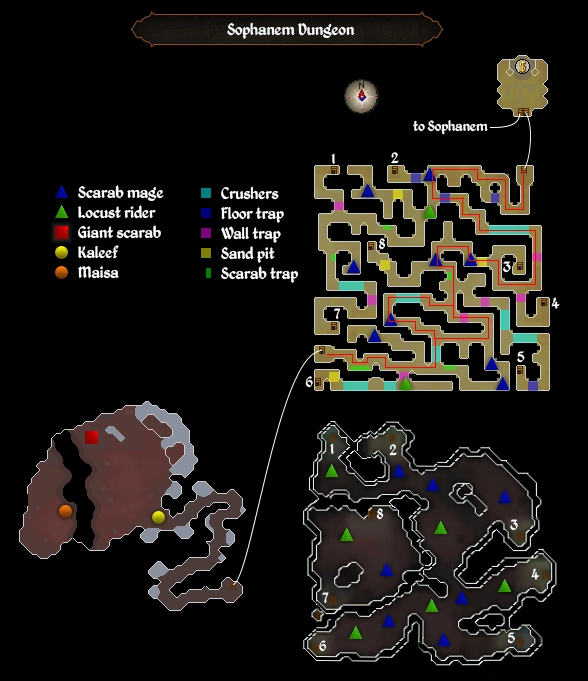
A map of the Sophanem Dungeon.
- Note: The dungeon under Sophanem is very dangerous, and protection prayers are strongly advised for protection from the monsters that patrol the dungeon.
Turn auto-retaliate off through the Combat tab, since it might cause you to waste some Prayer points fighting back, and/or also cause you to run into a trap, if you're hit at an inopportune moment. Go down the trapdoor and follow the dungeon around until you get to the ladder north of the southwestern corner using the Protect from Magic prayer.
When following the route to the right, the player will only encounter scarab mages. Therefore, use Protect from Magic and keep auto-retaliate off.
Traps
The dungeon is ridden with various types of traps, which should generally be avoided or bypassed.
| Image | Description |
|---|---|
|
Floor trap - Spikes: Similar to the floor traps found in the Rogues' Den (but easier to see - "X" markings on floor), these can be avoided using Agility by selecting "Search floor". If you run over them, you will be hit for 14-17 hitpoints. |
|
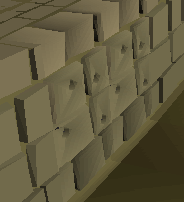
Wall trap: Similar to the wall traps in Rogues' Den, these can be disabled by Thieving by selecting "Search Odd markings". If you run through them, you will be hit for 14-17 hitpoints. |
|
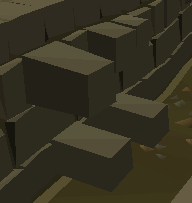
Crusher Blocks: These are also found in the pyramid in Icthlarin's Little Helper. Simply, move diagonally carefully around them. If you run into them, you will be hit for around 8 hitpoints of damage. (NOTE: You can run through these without taking damage by just clicking past them with run enabled). |
|
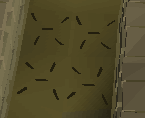
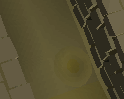
Sand pits: Barely visible circles on the ground. If you step on these, the ground will crack open and a Scarab swarm will come out. This can be avoided by walking around the pit. |
|
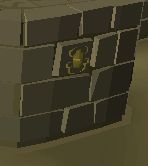
Scarab trap: Similar to the pits in Desert Treasure, these pits appear if you stand next to a wall spot with a scarab symbol on it. This will extinguish your light source and cause you to fall down to the bottom level. |
- Warning: Unless you have a piece of Kandarin headgear or a bruma torch in your inventory, your light source can be extinguished at any time. If this happens, use a tinderbox to light it again.
You will also encounter Scarab mages, Scarab swarms, and Locust riders. These can be very dangerous, and it is recommended you use Prayer against these foes. Scarab swarms can poison and will only appear if you step on a sand pit trap.
The ladders in the dungeon all lead to a much more dangerous second level of the dungeon. If you go down the wrong ladder or fall down a pit, you will be placed in the lower portion of the dungeon. There are level 98 and 106 locust riders and lots of Scarab mages. It is a multicombat area, and your hitpoints will be reduced very quickly. Find a ladder and get out fast.
If you have enough protection, this level could be a shortcut going from the north middle ladder to the southwestern ladder. Then, go up, east, north, and west to the exit ladder.
Kaleef's corpse
Once you have found the correct ladder, follow the passage around until you come to the corpse of Kaleef. Search the corpse to get his notes, and read it afterwards.
Travel slightly west and speak to Maisa. Tell her you have helped rescue Prince Ali, who was being held in Draynor Village, and that Leela assisted you. She will then trust you and tell you to speak to Osman, Spy Master of Al Kharid.
Osman
Travel to Al Kharid, go north of the palace and speak to Osman, try and convince him to come to Sophanem personally. Picking the "Drive a wedge.." option does the trick. Osman will then appear just outside the gates of Sophanem.

Before travelling back, equip yourself for a big fight. Emphasis on good food, but a prayer potion may help as well. Super potion sets are highly recommended if you're using melee, as the monsters hit 20+, and the scarab is very difficult to hit if it gets lucky. Iban Blast and Ice Rush spells are extremely effective.
Travel back to Sophanem. Osman will be just outside the gates. Talk to him again and suggest the secret entrance just north of the city. You will then see a cutscene where Osman sneaks past Jex into the caves below.
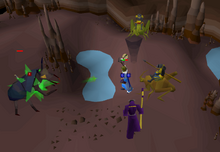
The final battle

The Giant scarab manifests itself.
Talk to Jex for some humorous dialogue regarding his attack if you wish. Go back through the Sophanem Dungeon to where you found the body of Kaleef. As soon as you go down the ladder, you will see another cutscene where a large beetle appears!
Make sure you're well prepared; if you die during the fight, your stuff vanishes, and there is no way to reclaim it!
Travel into the cave and fight the level 191 Giant scarab, which hits up to 20 with melee and Ranged. It summons level 68 Locust riders and Scarab mages (which can also do 9 damage with poison) to aid it, which will attack the player at the same time. The riders will attack with Ranged or melee, and the mages will attack with Magic, so you are being attacked by all three combat styles at once. It is recommended to defeat the magic-casters and rangers as soon as they spawn, but ignore the melee riders as your Prayer makes them harmless.
If you're using melee you will require pretty high stats (70 att, def, str) Protect from Melee is recommended against the scarab, and having plenty of good food such as sharks is required, you may also require a prayer potion as the Scarab has incredibly high defense and drags out the fight. Wearing dragonhide armour alongside mid-tier melee boots, gloves and helmet (dragon, neizinot) will help protect against both Magic and Ranged - anything lower than this will lead to relying on good hits to win the fight. You should kill the ranger or mager as soon as they spawn, as more will continuously spawn throughout the fight. Simply hit the scarab in-between spawns.

A player fighting the Giant scarab.
If you're using Ranged, use a rune crossbow with broad bolts or higher, or use a crystal bow. Anything lower will cause problems, due to the scarab's high Defence. Use Karil the Tainted's equipment or black dragonhide armour, and use the safespot also listed in the mage tips below. Doing range any other way is not very effective in this battle. Use Protect from Missiles, if you can not get to the safespot, try using the Scarab mage or the Locust riders as obstacle to avoid melee damage.
If you're using Magic, there is a safespot in the northern part of the cave; so, hide there and use Protect from Missiles. One may also safespot from the entrance, near Kaleef's corpse. The scarab is particularly weak to earth spells. However, mystic robes and the Iban Blast spell are also ideal; with this setup (and the protection prayers), it is an extremely easy fight.
Once the scarab is defeated, another cutscene will happen where Osman is miraculously alive (he blended into the shadows). He talks to you then tells you to take the Keris blade on the floor, and then teleports away.
Go back to the High Priest. (If you have limited food left, teleporting away and coming back via the magic carpets may be safer than going through the dungeon again) it is not recommended to go back through the dungeon as the pathing with wall traps can easily cause you to take high damage if you misclick. He will confirm that Maisa was successful and reward you.
Rewards
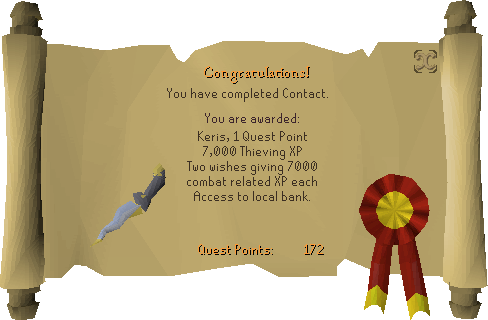
- 1
 Quest point
 - 7,000 Thieving experience
- Combat lamp giving two wishes granting 7,000 experience to Attack, Strength, Defence, Hitpoints, Ranged, or Magic
- The Keris
- Access to Sophanem's bank