This is a guide to killing General Graardor with Melee and Ranged. It will take you through the basics of attacking and tanking, along with providing a few examples of what equipment to bring.
Note that Melee is the most straightforward combat style to use since it suffers no penalties from tank armour. Ranged setups can also deal significant damage, but are less feasible for tanks.
Requirements
- Completion of Death Plateau and start of Troll Stronghold to the point where you defeat Dad.
- One rope is required to access the dungeon for the first time.
- Level 70 Strength is required to enter Bandos' Stronghold (cannot be boosted).
- At least 43 Prayer for access to the protection prayers.
- A hammer
Recommended
Meeting most or all of the recommended parameters, while not required, will make the fight significantly easier.
- 70

- 43

Solo strategy
General Graardor should never be underestimated in a solo scenario. On top of trading blows with General Graardor, a solo player will also be under constant attack by his bodyguards, who normally switch targets when there is more than one player in the room. As such, a successful solo strategy involves withstanding a high amount of damage while also maintaining a good offence. Getting multiple solo kills in one trip is difficult without a very high Combat level.
Along with using Protect from Melee, solo players need a high level of Ranged Defence in their armour setup. Players struggling to withstand the magic minion's attacks are advised to take a Karil's leathertop or blessed body to resist them; ultimately whether using a ranged top or a platebody in a solo scenario is more worthwhile depends on the player's stats and experience.
Using Saradomin brews in this instance can be counterproductive, as the process of restoring one's stats will give the boss more time to damage the player. Instead, only a small amount should be brought to solo trips for the purpose of healing between kills.
Team strategy
A team of at least three people including a tank (i.e. someone with high Defence and good armour to take Graardor's blows) is advisable. All players should use the Protect from Missiles prayer, except for the tank, who should use the Protect from Melee prayer. Team members can exchange supplies by either dropping them or trading whenever the room is cleared.
Having one player bring runes to cast High Level Alchemy on the many rune items General Graardor drops can help to preserve inventory space.
Attacker

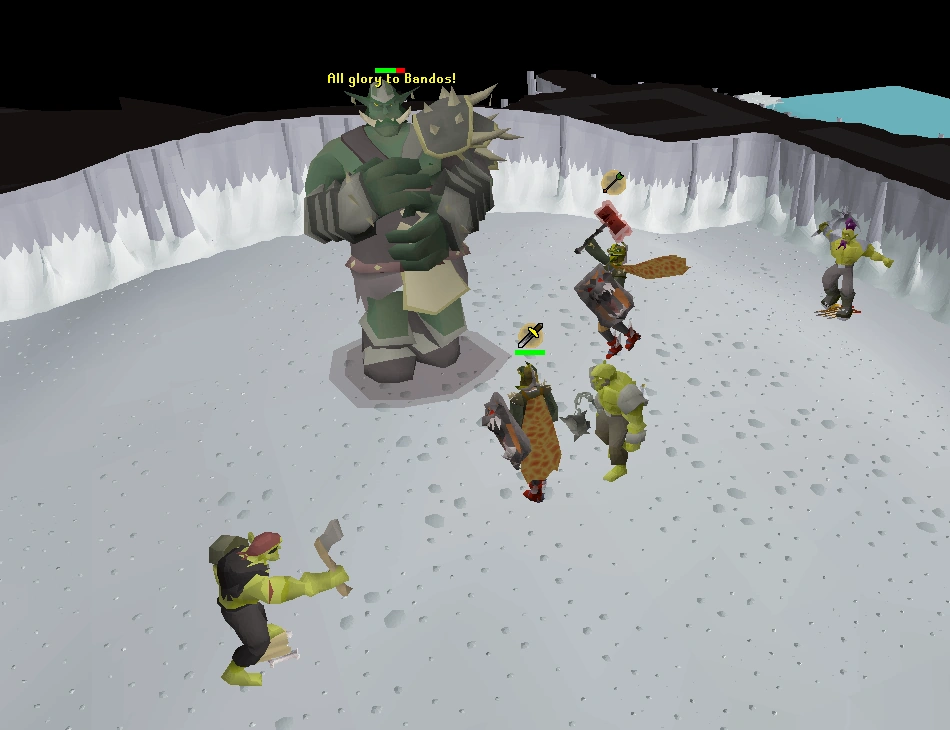
A pair of players fighting General Graardor and his bodyguards.
Only ever attack General Graardor once the tank has attacked; otherwise, Graardor will focus on you. Extra care should be taken by players using Ranged, as it is easier to attack the boss first by accident.
Once Graardor is dead, kill the minions, beginning with Sergeant Steelwill. Stand against the western wall while waiting for General Graardor to respawn, as this gives the tank more time to draw his attention.
Ideally, melee attackers should use Karil's leathertop, a black dragonhide body, or Void Knight equipment instead of regular melee armour in order to mitigate the magic minion's attacks.
Tank
As a tank, you are required to draw General Graardor's attention before he can reach any other players in the room. To do this, as soon as he spawns, activate Protect from Melee and engage with haste. Once Graardor is dead, kill the minions, beginning with Sergeant Steelwill. Stand in the centre of the room while waiting for General Graardor to respawn, and be ready to draw his attention again.
Tips
- Goblins are an easy target for Bandos killcount.
- Walking under Graardor can buy a tank some time to eat food without taking unnecessary damage. It can be also done at certain intervals to make Graardor "miss" an attack.
- Experienced players can "tick eat"; tick eating is healing on a critical level of health right before taking damage, essentially surviving a hit that would have normally killed the player.
- Bones to Peaches can help extend trips; each kill rotation yields 32 Hitpoints worth of bones.
- The minions will drop chili potatoes and sharks. If there is an excess of food, continually pick up and drop food again to prevent it from disappearing.
- Guthan's equipment may be used to heal on the melee and ranged minions if desired. Cooperate with your team to maximise healing opportunities. Bring less brews and more restores if you choose this method of healing. Guthan's armour also doubles as good primary equipment for tanks.
Example setups
Notes:
- The Dragon warhammer's special will reduce Graardor's Defence by a greater amount than the Bandos godsword's special; however, the latter is more accurate.
- If you are assigned General Graardor as your slayer task, use your Slayer helmet variant of choice so as to take advantage of its accuracy and damage boost.
- An Amulet of fury is generally ideal for tank setups as it emphasises defensive and prayer bonuses.
- When bringing a dragon warhammer, you do not need a hammer to bang the door.
|
|
||||||
|
|
|
| ||||
|
|
|
| ||||
|
|
||||||
|
|
|
| ||||
| Basic Tank | ||||||
|---|---|---|---|---|---|---|
Equipment:
- Weapon: Abyssal tentacle > Abyssal whip
- Shield: Dragonfire shield > Crystal shield (i) > Obsidian shield > Dragon sq shield
- Head: Verac's helm > Helm of neitiznot > Warrior helm
- Body: Torag's platebody
- Legs: Verac's plateskirt > Torag's platelegs
- Boots: Bandos boots > Dragon boots
- Gloves: Barrows gloves > Rune gloves > Combat bracelet
- Amulet: Amulet of fury > Amulet of glory
- Ring: Ring of suffering (i) > Granite ring (i) > Berserker ring (i) > Seers ring (i) > Ring of dueling
- Cape: Fire cape > Hitpoints cape > Vestment cloak > Zamorak cape
- Ammo: Unholy blessing > War blessing
Inventory:
- Saradomin godsword > Bandos godsword (for special attacks)
- Hammer
- 3 Super combat potion
- 11 Saradomin brews
- 3 Anglerfish
- 6 Super restores
- Teleport to house or a one-click teleport (for emergency)
|
|
||||||
|
|
|
| ||||
|
|
|
| ||||
|
|
||||||
|
|
|
| ||||
| Advanced Tank | ||||||
|---|---|---|---|---|---|---|
Equipment:
- Weapon: Abyssal tentacle > Zamorakian hasta > Abyssal whip
- Shield: Elysian spirit shield > Spectral spirit shield > Dragonfire shield > Crystal shield (i) > Obsidian shield
- Head: Verac's helm > Helm of neitiznot
- Body: Bandos chestplate > Guthan's platebody > Karil's leathertop > Zamorak d'hide > Black d'hide body
- Legs: Bandos tassets > Verac's plateskirt > Guthan's chainskirt
- Boots: Guardian boots > Primordial boots > Bandos boots > Dragon boots
- Gloves: Barrows gloves > Regen bracelet
- Amulet: Amulet of fury > Amulet of torture > Amulet of glory
- Ring: Ring of suffering (i) > Ring of the gods (i) > Berserker ring (i) > Ring of life
- Cape: Infernal cape > Max cape > Prayer cape > Fire cape > Hitpoints cape
- Ammo: Unholy blessing > War blessing
Inventory:
- Saradomin godsword > Bandos godsword (for special attacks)
- Hammer
- Teleport to house or a one-click teleport (for emergency)
- Bones to peaches
- 4 Super combat potion
- 4 Saradomin brews
- 1 Anglerfish
- 8 Super restores
|
|
||||||
|
|
|
| ||||
|
|
|
| ||||
|
|
||||||
|
|
|
| ||||
| Ranged Tank | ||||||
|---|---|---|---|---|---|---|
Equipment:
- Weapon: Armadyl crossbow > Rune crossbow
- Shield: Elysian spirit shield > Dragonfire shield > Crystal shield (i) > Blessed spirit shield > Dragon sq shield
- Head: Verac's helm > Helm of neitiznot > Armadyl helmet
- Body: Armadyl chestplate > Karil's leathertop > Zamorak d'hide > Black d'hide body
- Legs: Verac's plateskirt > Armadyl chainskirt > Karil's leatherskirt
- Boots: Guardian boots > Pegasian boots > Blessed boots > Bandos boots > Holy sandals
- Gloves: Barrows gloves > Regen bracelet > Black d'hide vamb
- Amulet: Amulet of fury > Necklace of anguish > Amulet of glory
- Ring: Ring of suffering (i) > Ring of the gods (i) > Archers' ring (i) > Ring of life
- Cape: Max cape > Ranging cape > Ava's accumulator
- Ammo: Diamond bolts (e) / Ruby bolts (e) / Runite bolts > Broad bolts
Inventory:
- Hammer
- Bones to peaches
- 3 Ranging potion
- 14 Saradomin brews
- 6 Super restores
- 150+ Diamond bolts
- Teleport to house or a one-click teleport (for emergency)
|
|
||||||
|
|
|
| ||||
|
|
|
| ||||
|
|
||||||
|
|
|
| ||||
| Attacker | ||||||
|---|---|---|---|---|---|---|
Equipment:
- Weapon: Abyssal tentacle > Abyssal whip > Zamorakian hasta > Dragon scimitar
- Shield: Dragon defender > Rune defender > Dragonfire shield > God book
- Head: Helm of neitiznot > Warrior helm > Berserker helm > Verac's helm
- Body: Karil's leathertop > Black d'hide body > Bandos chestplate
- Legs: Bandos tassets > Verac's plateskirt > Karil's leatherskirt > Obsidian platelegs
- Boots: Primordial boots > Guardian boots > Dragon boots > Holy sandals > Climbing boots
- Gloves: Barrows gloves > Regen bracelet > Rune gloves > Granite gloves > Combat bracelet
- Amulet: Amulet of torture > Amulet of fury > Amulet of glory > Unholy symbol
- Ring: Berserker ring (i) / Ring of the gods (i) > Warrior ring (i) > Ring of suffering (i) > Ring of dueling
- Cape: Infernal cape > Max cape > Fire cape > Prayer cape > Vestment cloak
- Ammo: Unholy blessing > War blessing
Inventory:
- Bandos godsword (for special attacks)
- Hammer
- 3 Super combat potion
- 11 Saradomin brews
- 9 Super restores
- Bones to peaches tablets
- Runes to cast High Level Alchemy
|
|
||||||
|
|
|
| ||||
|
|
|
| ||||
|
|
||||||
|
|
|
| ||||
| Solo | ||||||
|---|---|---|---|---|---|---|
Equipment:
- Weapon: Abyssal tentacle > Zamorakian hasta > Abyssal whip > Dragon scimitar
- Shield: Elysian spirit shield > Dragonfire shield > Crystal shield (i) > Obsidian shield > Dragon defender
- Head: Torag's helm > Helm of neitiznot
- Body: Karil's leathertop > Bandos chestplate
- Legs: Bandos tassets > Verac's plateskirt > Torag's platelegs
- Boots: Guardian boots > Bandos boots > Primordial boots > Dragon boots > Climbing boots
- Gloves: Barrows gloves > Regen bracelet
- Amulet: Amulet of fury > Amulet of torture > Amulet of glory > Amulet of power
- Ring: Ring of suffering (i) > Berserker ring (i) > Ring of the gods (i) > Ring of life > Ring of dueling
- Cape: Infernal cape > Max cape > Fire cape > Defence cape > Obsidian cape
- Ammo: Unholy blessing > War blessing
Inventory:
- Bandos godsword or Dragon warhammer (for special attacks)
- Hammer or Dragon warhammer
- 2 Super combat potion
- 3 Saradomin brews
- 5 Super restores
- 14 Anglerfish > Shark
- Teleport to house or a one-click teleport (for emergency)