Recipe for Disaster is the 100th quest released by Jagex, being a sequel to the Cook's Assistant quest. It is composed of 10 subquests. The subquests range in difficulty from easy to very hard. It is intended to be a quest, which nearly any member can start, but which only the most accomplished and willing players can complete.
| Start point | |
| Official difficulty | Special |
| Description | The 100th quest in RuneScape, where you must save eight people/creatures from the Culinaromancer before finally defeating him. |
| Length | Very long |
| Requirements |
|
| Items required |
|
| Enemies to defeat |
|
Beginning
Details
| Start point | |
| Official difficulty | Novice |
| Description | The cook in Lumbridge has a surprisingly small number of ingredients to hand in his kitchen, possibly as a result of an endless stream of newcomers with light fingers taking anything that isn't nailed down from his kitchen.
Luckily, in the past a kind Cook's Assistant was willing to help him in his culinary duties, but now a problem has appeared that could spell... a Recipe For Disaster! Almost all members may attempt to solve his tricky predicament, and be rewarded accordingly, but only the very elite of Questers will be able to put an end to his problem permanently! |
| Length | Short |
| Requirements |
|
| Items required |
|
| Enemies to defeat | None |
Walkthrough
The cook
Items required: An eye of newt, a greenman's ale, a rotten tomato, ashes, and a fruit blast.

The Cook will tell you that he needs a newt's eye, a Greenman's ale, a rotten tomato, and a dirty blast in order to prepare for the centennial feast. If you ask him how to make a dirty blast, he will tell you to add ashes to a fruit blast. He will give you 100 coins to buy everything, and he will allow you to keep the change.
Gathering the ingredients
You can buy an eye of newt from herblore shops. Greenman's ale is sold in Yanille. You can buy a rotten tomato at the Duel Arena or from the crates near the pillory cages in Varrock, Seers' Village, or Yanille. You can make a fruit blast at the Gnome Stronghold in the cocktail bar (Blurberry will give you a cocktail book on how to make them). Use the ashes on the fruit blast to get a dirty blast.
Once you have all 4 items, give them to the Cook.
Congratulations! Quest complete! (for now...)
Reward
- 1
 Quest point
 - The invitation to the feast of a lifetime!
- Access to the Bank chest underneath Lumbridge
- Access to the Culinaromancer's Chest
The feast
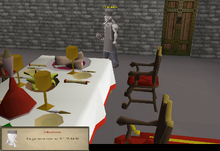
Enter the doors to the dining room to begin the feast. You will see many members of the Lumbridge council at the table: a dwarf from White Wolf Mountain, Osman from Al Kharid, the goblin generals from Goblin Village, Pirate Pete from Morytania, the Lumbridge Guide, Evil Dave from Edgeville, Skrach Uglogwee from the Feldip Hills, Sir Amik Varze from Falador, Awowogei from Ape Atoll, and Duke Horacio himself. Right before you enter, the Duke will get the Strange box event and will leave the room to fiddle with it, and Osman will get taken away by Evil Bob. At this point, you will enter the room. Sadly, a Culinaromancer (that's a food mage) will drop in and spoil your fun. Luckily, the Gypsy from Varrock will show up and freeze everyone in time (except you and her).
Subquests
After the feast, you will be able to enter and exit the dining room at will. However, it will be in a dormant state. To protect each member of the council from the Culinaromancer's spell, you must feed each of them their favourite food. The Gypsy and Cook will both be there to help you. You can complete these subquests in any order, and start as many of them at a time as you want. Each subquest gives 1 quest point and some access to the Culinaromancer's Chest, as well as additional rewards such as items or experience.
Dwarf
| Start point | |
| Official difficulty | Intermediate |
| Description | To save the dwarf, you will need a special dwarven rock cake. Only his father in the tunnel under White Wolf Mountain knows how to make one. |
| Length | Short |
| Requirements |
|
| Items required |
Recommended:
|
| Enemies to defeat | Icefiend (level 13) (only if you lack Ice Gloves) |
Walkthrough
Items required: 316 Coins, a bucket of milk, flour, an egg, a bowl of water, gloves (ice gloves recommended), and 2 Falador teleports (1 if you have ice gloves).


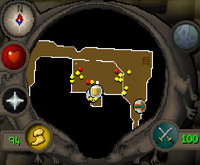
Location of Rohak, under White Wolf Mountain.
Inspect the dwarf.
Go to the tunnel under White Wolf Mountain (a Camelot teleport is useful for a short walk). You will see an Old Dwarf in the bar area. Talk to him. He will refuse to bake a Dwarven rock cake for you, but he'll mention the Rising Sun Inn.
Go to Falador and talk to the barmaid in the Rising Sun Inn next to the west bank. Ask her about dwarves and ale. She will offer to tell you the secret recipe for Asgoldian ale for the price of 200 coins. If you have the activated ring of charos, charm her. She will tell you to add a gold coin to an Asgarnian ale to get an Asgoldian ale. Buy four (or six) Asgarnian ales from her (or go to the Toad and Chicken pub in Burthorpe and pick up the ales for free), then add a coin to each one as per the secret recipe.
Once you have four, go back to the tunnel under White Wolf Mountain and use them on Rohak. Quickly give them to him to get him drunk, or he will sober up and you will need to get more Asgoldian ales again.
He will agree to make you a Dwarven rock cake for 100 gold. Give him your bucket of milk, egg, flour, and bowl of water, then put on your gloves and take the rock cake; if you don't, you'll take some damage from burning your hands. You will need to cool it down before you can give it to the Dwarf back in Lumbridge.
If you have ice gloves, picking up the cake cools it immediately. Otherwise, you can go and kill an icefiend, which functions similarly to ice gloves. The other option is to leave it in the bank, though you will have to wait several hours for it to cooldown, so it is not recommended to do so.
Reward
- 1 Quest point
- 1,000 Slayer experience
- 1,000 Cooking experience
- (Further) access to the Culinaromancer's Chest.
Goblin generals
| Start point | |
| Official difficulty | Novice |
| Description | The goblin generals need a food that they'll both eat. Find a chef in Goblin Village to learn how to make it. |
| Length | Short |
| Requirements | Completion of Goblin Diplomacy |
| Items required |
|
| Enemies to defeat | None |
Walkthrough
Items required: Bread, an orange, a knife, dye (other than red, yellow, orange, or pink), spice, fishing bait, a bucket of water, and charcoal.

Go to the Goblin Village and talk to the generals. They will be no help, so go into the next building and climb down the ladder. You will see Mudknuckles, a goblin cook. He will tell you to get him some charcoal to finish a cooking recipe that he overheard two dwarves talking about. Give him the charcoal. He will add it to his cauldron, which will explode in a hilarious cutscene. Miraculously, you both survive.

The chef claims it worked.
Mudknuckles will then tell you that he has trouble with the food, as both the generals are bickering over it. To make food for the generals, he needs oranges that aren't orange, maggots that aren't bland, and bread that isn't crunchy. You can make the ingredients listed below:
- Orange slices - Slice the orange with your knife, then use the dye on it.
- Maggots - Use the spice on the fishing bait.
- Bread - Use the bucket of water on it.
Give all three to Mudknuckles to get the Slop of compromise. Give it to the goblin generals in Lumbridge to complete this part of the quest.
Rewards
- 1 Quest point
- 1,000 Cooking experience
- 1,000 Farming experience
- 1,000 Crafting experience
- (Further) access to the Culinaromancer's Chest.
Pirate Pete
| Start point | |
| Official difficulty | Experienced |
| Description | Pirate Pete needs a fishcake to be protected. Talk to the Lumbridge Cook to learn how to make one. |
| Length | Medium |
| Requirements |
|
| Items required |
|
| Enemies to defeat |
|
Walkthrough
Items required: A pestle and mortar, a raw cod, a knife, and bread.

Talk to the Cook in the next room. He will tell you to get ground cod, breadcrumbs, ground crab meat, and ground kelp. He will tell you that Murphy in Port Khazard will help you get the crab meat and kelp. Make sure to ask him each available question pertaining to the ingredients, or you may not be able to make them.
- Ground cod - Use your pestle and mortar on your raw cod.
- Breadcrumbs - Use your knife on your bread.
Note: It's recommended that you get extra kelp and crab meat, especially if you have a low Cooking level, as if you burn the fishcake you will have to go back to do it all over again. Luckily, you don't need any more bronze wire and hides, so just get extra cod, bread, kelp, and the meat.
- Ironmen: An easy way to obtain a fishbowl for Recipe for Disaster without having to craft one or get one from an NPC drop is from Rum Deal. During the quest, you obtain a Fishbowl and net, which can be untangled, giving you an empty fishbowl.
Under the sea
Items required: A fishbowl (empty), a needle, 3 bronze wires, weight less than 27kg, at least 5 free inventory spaces, and a weapon (optional but recommended).

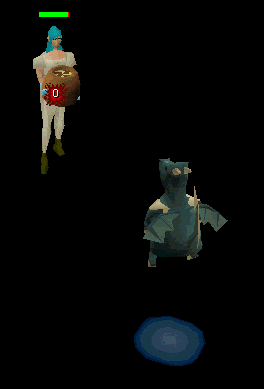
Go to Murphy, who can be found at Port Khazard, to get your fishbowl made into a diving apparatus. Put it on, then ask to go diving. Your weight must be under 27 kilograms. Have multiple empty inventory spots, as you will not be able to drop items underwater yet need to pick up new items. Once you're underwater, find a tall plant, and pick it for the kelp. Then, look for a crab pen to the north. Talk to Nung. He will tell you to get him five mudskipper hides.
Underwater, talking to Nung.
Head to the entrance to the mudskippers' cave, on the western wall of the underwater area. Pick up five rocks near the entrance to the cave and then enter the cave. While in the cave (and the crab pen thereafter), you will be able to wield weapons as normal as you will be standing upright. Kill five mudskippers (level 30 and 31) to get hides. Take them back to Nung. Give him your needle and three bronze wire; he will let you into the crab pen after this.
In the pen, kill a crab and collect its meat. Grind the crabmeat and kelp you obtained.
Go back to the Cook. Use the ingredients on each other, and cook it to get a fishcake. Give it to Pirate Pete in the dining room for your reward.
Reward

- 1 Quest point
- 1,000 Cooking experience
- 1,000 Crafting experience
- 1,000 Fishing experience
- 1,000 Smithing experience
- The ability to go diving and fight crabs (you need your diving apparatus)
- The ability to cook crab meat (heals 10 hitpoints in 5 bites)
- The ability to kill crabs to get their shells and claws, which can be made into a helmet and gloves with a chisel
- (Further) access to the Culinaromancer's Chest
Lumbridge Guide
| Start point | |
| Official difficulty | Novice |
| Description | You need a cake of guidance to protect the Lumbridge Guide. Wizard Traiborn in the Wizards' Tower can teach you how to make one. |
| Length | Short |
| Requirements |
|
| Items required |
|
| Enemies to defeat | None |
Walkthrough
Talk to Wizard Traiborn on the 1st floor[?] of the Wizard's Tower. All of the required items can be bought from the Culinaromancer's Chest!
Egg


The egg quiz.
You must pass a short quiz to get your egg enchanted. You will be shown an NPC that you've seen in one of the required quests, then will be asked who it is. Answer correctly three times to get the egg enchanted.
Some of the people:
- Man with ponytail and book - Reldo
- Ghostly green woman - Velorina
- Man with desert robes and white beard - Ali Morrisane
- Elf - Islwyn
- Man with purple shirt - Unferth
- Man with brown vest - Professor Gronigen
- Woman with pink top - Gertrude
- Woman (green witch) - Hetty
- Man (hooded) - Pirate Pete
- Man with a crown - King Lathas
Milk
You will be asked a general question about RuneScape. Answer three correctly to get it enchanted.
Some of the questions:
- Defence requirements to wear a Mystic hat - 20
- Ingredients in a cake - Flour, egg, milk
- Combat level of Goblins near Lumbridge - 2
- GP to bribe an Al Kharid gate guard - 10
- What doesn't lie between Morytania and Asgarnia - Keep Le Faye
- Gold ring is to 5 as a holy symbol is to - 16
- Glass vial is to 33 as a glass orb is to - 46
- Guild closest to Fishing Platform - Legends'
- Bar west of Pollnivneach - Bandit Camp
- The River Salve runs from - North to south
- I can hear howling in one direction and buzzing in the other—where am I? - Catherby
- If I'm going to need glass, first I will need - Sand, bucket, soda ash, glassblowing pipe
- Which tower is closest to the Crafting Guild - Dark Wizards' Tower
- Take the number of fire runes required to cast Fire Strike, and multiply by the number of air runes used to cast Wind Strike before adding the number of earth runes used to cast Earth Wave - 10
Flour
You must pass a memory test. You will be shown ten items, then must answer a question about them. Answer them to get enchanted flour. The print screen function may be helpful.
Use all three ingredients on the cake tin—then, cook the cake, and give it to the frozen guide.
Reward
- 1 Quest point
- 2,500 Cooking experience
- 2,500 Magic experience
- (Further) access to the Culinaromancer's Chest
Evil Dave
| Start point | |
| Official difficulty | Experienced |
| Description | Evil Dave needs some kind of spicy stew. You will need Evil Dave's help for this one. He lives in his mother's basement... |
| Length | Medium |
| Requirements |
|
| Items required |
|
| Enemies to defeat | None |
Walkthrough

- Note: This section alone has been known to take some players well over 90 minutes to complete, so come prepared!
- Note: There appears to currently be a bug, although rare, where if you teleport outside of the dining hall with a hellcat, it will turn invisible, and you will not be able to see or interact with it. If this happens, simply log out and back in, and you should have your hellcat back. (It will be following you—you won't need a free inventory space.)
Go to Edgeville. The house west of the bank is Evil Dave's mother's house. Talk to her and ask her either question. Then, climb down the trapdoor. You will see that Evil Dave has gotten into summoning demons as well. However, they are hellrats, the weakest form of demon ever. Talk to him, and tell him he must tell you "because the magic requires it". He'll eventually tell you that it was a perfectly spicy evil stew, like the ones his mother makes. Talk to Doris (Dave's mother) again. She will tell you that the demons stole all of the spices. With your cat, catch hellrats (after catching seven rats, it will turn into a hellcat or hellkitten).
Since the Hell-Rat Behemoths cannot be fought until the subquest is completed, you will need to hunt down hellrats instead. If you cat catches a hellrat, you will get a brown, red, yellow or orange spice which contains anywhere from 1 to 4 doses.
Use the spices on a stew. To save a lot of time with this, focus on getting one type of spice; other spices your cat catches can be used later. Start off with one dose of that spice on a stew, and give it to Evil Dave. He will then comment on your stew. If he states that one is right, do not add anymore of that spice to the stew, and record how many doses of spice you put in that stew. If he says none of them are right, add an extra dose of spice to another stew. At most, you will need to put three doses of spice, as you cannot put more then four doses of that spice in one stew.
Excess spices can be dropped or kept in the bank to make more spicy stews for personal use.
Keep testing out how many doses of spice you need in each stew. When you find out how much of each spice you need, put those respective amounts into one stew. Give it to Evil Dave, and he will say that it is correct. He will not eat all of the stew. Bring it back to Evil Dave in Lumbridge; make sure you do not eat the stew, or you will have to go back and get the spices again.
Reward
- 1 Quest point
- 7,000 Cooking experience
- The ability to catch hellrats to get a Hellcat
- The ability to have your cat fight Hell-Rat Behemoths
- The ability to add coloured spices to stew by catching hellrats (Spicy stews can boost and lower certain stats)
- (Further) access to the Culinaromancer's Chest
Skrach Uglogwee
| Start point | |
| Official difficulty | Experienced |
| Description | To protect Skrach Uglogwee from the Culinaromancer, you need to feed him a cooked jubbly bird, the most delicious type of Chompy in the Feldip Hills. You need to talk to Rantz to learn how to get one. |
| Length | Medium |
| Requirements |
|
| Items required |
Recommended:
|
| Enemies to defeat | None |
Walkthrough

Talk to Rantz. He will tell you that he wants to travel to Karamja to make some type of potion. But before that, he wants you to meet him southeast of his cave. Go there. He will kick a tree over and ask you to make it into a boat. Use your axe on it two times to make a boat. Talk to Rantz, and he will then shoot an arrow to a tree on Karamja. Talk to him again, and then he will tell you to cook a chompy there for good luck. If you don't have any raw chompies, kill a chompy bird or two and gather the raw chompies before you leave.

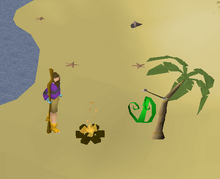
The location you need to make the fire.
Travel to Karamja (you can use the fairy ring southwest if you have the access—the code for Karamja is ckr), and then, follow the west coast of Tai Bwo Wannai south (head north if you used the fairy ring) until you find a tree with an arrow in it — it should be near the Transportation icon on the minimap. Make a fire next to the tree, and then, use your iron spit on a chompy and cook it. If you succeed, Rantz's kids will take the boat to you and take you back.
Rantz will tell you to make a balloon toad to use as bait, to catch the Jubbly bird.
- Fill your bellows up on the swamp—then, use them on a toad. You should get around 3 toads just to be sure, because the next part can fail.
- Mine the same amount of rocks as you have toads to the west of the swamp, near the Fairy Ring, to get a "rock". There is also a mining spot next to Rantz's cave.
- With the rock and ball of wool in your inventory, use the bellows on your already inflated toad to create a balloon toad.
- Right-click and drop the balloon toad south of Rantz's cave or east of the gnome glider.
- Now, wait for the Jubbly bird (level 9). If it doesn't appear, you'll get your wool back. If you've only gotten one balloon toad now you need to get another one. When it appears, kill it with your ogre bow. Then pluck it, take the meat, and cook it on Rantz' spit. Go back to Lumbridge Castle and then carefully right-click and use the cooked jubbly on Skrach Uglogwee. If you eat it, you'll have to get another one.
- Killing and cooking multiple jubblies may be beneficial in the event that you burn/accidentally eat some.
Reward

- 1 Quest point
- 1,500 Woodcutting experience
- 1,500 Cooking experience
- 1,500 Crafting experience
- 1,500 Ranged experience
- The ability to use the boat trip to travel between Karamja and the Feldip Hills (you must pay a fee of chompies or exotic herbs)
- (Further) access to the Culinaromancer's Chest
Sir Amik Varze
| Start point | |
| Official difficulty | Master |
| Description | Sir Amik Varze requires a crème brulee supreme. Talk to the Cook to learn how to make one in this complicated but fun subquest. |
| Length | Medium |
| Requirements |
|
| Items required |
|
| Enemies to defeat |
|
Walkthrough

After inspecting Sir Amik, talk to the Cook. He will tell you how to make Crème Brulée Supreme: mix milk and cream, add cornflour, a vanilla pod from the Kharazi Jungle, the egg of the Evil Chicken and cinnamon, made by crushing a dramen branch. Then, you must flambé it using a dragon somehow.
- Note: The ingredients can be gathered in any order, but must be combined in this order. Be sure to also speak to the Cook about freeing Sir Amik, or else you will be unable to inquire about the Evil Chicken's whereabouts later on.
- Use your cream on your milk to mix them.
- Make cornflour by grinding a raw sweetcorn in a windmill and filling your pot with it. Add it to the mix.
- Go to the south-central section of the Kharazi Jungle and pick a vanilla pod from the Vanilla plants near the coastline. Add it to the mix.
- Note: If you have not completed Legends' Quest you must have the map of Kharazi Jungle or 3 Papyrus, Charcoal and Radmius notes in order to enter Kharazi Jungle.
- Talk to the Wise Old Man of Draynor Village. Ask about strange beasts, and then, ask about the Evil Chicken.
- Use your Dramen staff to go to Zanaris. You will need to set up for some Combat: Bring your Anti-dragon shield, and whatever you think you'll need to kill the Evil Chicken and a safespottable level 227 black dragon. In case you choose to bank between them, you will need another raw chicken. The Evil Chicken is level 159 if you are between 58-91 Combat — level 170 if you're higher.
- Once you are ready for the fights, equip your anti-dragon shield, and use a raw chicken on the Evil Chicken statue near the entrance-ring. Run past the black dragons into the northern cave (not the mining-area to the east), and kill the Evil Chicken. It fights the same as it used to during random event fights. The Evil Chicken hits frequently, but for very low damage - it shouldn't be too hard to kill. Take note that if you happen to die before you leave the lair after killing the Evil Chicken, all items dropped on death will disappear! Pick up the egg it drops.
- Next, with your anti-dragon shield (or Dragonfire shield) equipped, go back to the black dragons—you will need to kill one. If you are ranging or using a halberd, there is a safe spot just inside the corridor that leads to a mine. When it dies, the dragon will drop a token. Pick it up.
- Back in a bank, add the egg to the brulee, and then, grind your dramen branch into cinnamon with your pestle and mortar and add that too. A game message should now tell you that "Now it just needs flambeing."
K'klik flambees the brulee.
- Put your ice gloves on, and then, rub the token. K'klik will appear. Wish for it to flambé your brulee to cook it. You will likely die if you don't wear any ice gloves (it is possible to reload the game to stop the scene if you forgot). (Antifire potion + Anti-dragon shield works as well.)
- Travel back to Lumbridge Castle and then give the brulee to Sir Amik Varze to protect him.
Reward
- 1 Quest point
- 4,000 Cooking experience
- 4,000 Hitpoints experience
- Access to the Evil Chicken's Lair, where you can fight black dragons (The fowl beast himself has moved on to other things.)
- (Further) access to the Culinaromancer's Chest
Awowogei
| Start point | |
| Official difficulty | Master |
| Description | Awowogei needs his favourite food, but nobody seems to know what it is. Maybe you should go talk to him in his palace. |
| Length | Long |
| Requirements | |
| Items required |
|
| Enemies to defeat |
|
Walkthrough
Go to Awowogei's palace on Ape Atoll. Make sure you've equipped one of your greegrees and your m'speak amulet. Buy monkey nuts and grab a normal banana before you do so. Talk to Awowogei about his favorite food; he will refuse to divulge it, but will mention three monkeys in the temple.
The three monkeys are located in the temple north of Awowogei, in the northwest corner. Tell them that you're planning a surprise party for the king. They will tell you to stuff the corpse of a big snake with banana slices and monkey nut paste. If you have a banana and monkey nuts with you, speak to them again. They will tell you that these are not good enough for the king's sophisticated palate, and that you will need to replace the ingredients with the sacred red banana and the tchiki monkey nuts.
Red banana
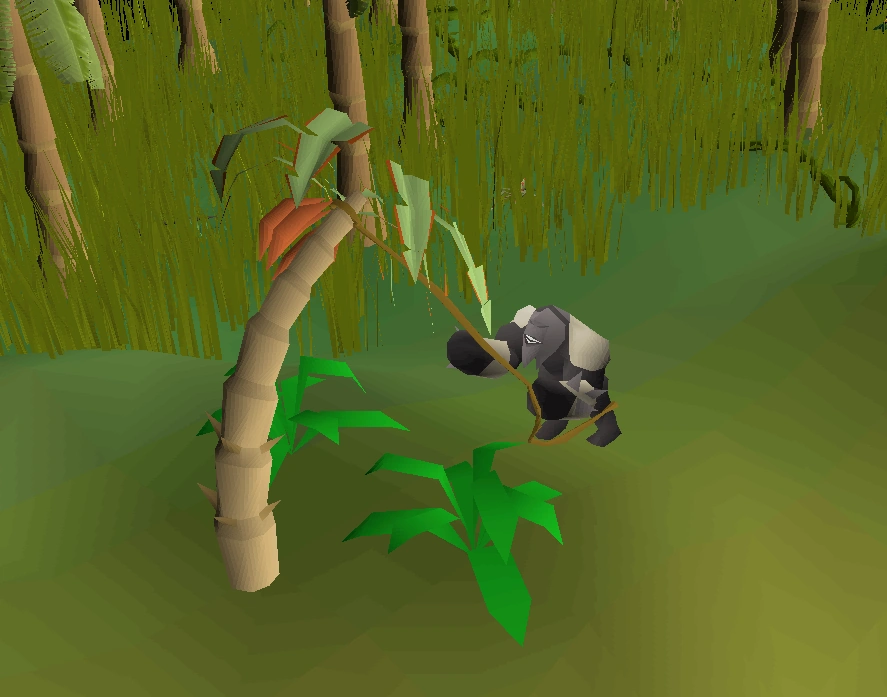
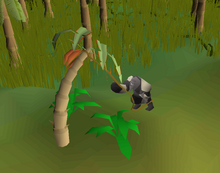
Getting the banana.
The Red Banana Tree is located at the west coast of the island just south of the gnome glider icon. To get the red banana, wield your Gorilla greegree, as you'll need lots of strength. Then, go to the west coast and find the tree. Use your rope on it to get the banana. Use the drop trick to get more bananas, since you might accidentally burn the snake.
If no bananas are on the tree, go to the three wise monkeys again with a normal banana and go through the dialouge regarding it until it is finished.
Tchiki monkey nuts
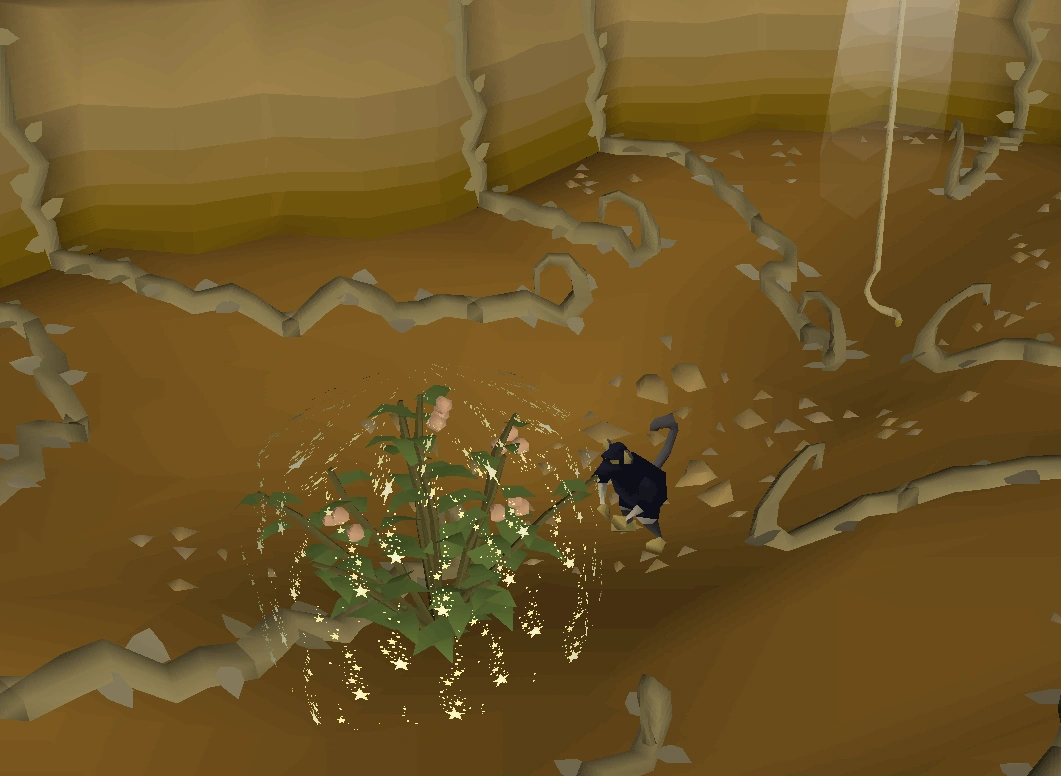
Picking the tchiki nuts from the bush.
Wield your Ninja greegree, then go to the south part of town. The agility course start-point is on the other side of a small river. Once over the bridge, head southwest. You will need 48 Agility to access the course. Boosts will not work for this. Go across the obstacles until you find a broken hut around a hole in the ground. Go down and pick a monkey nut. You might want to use the drop trick to get more nuts, since you might accidentally burn the snake. Players with access to fairy rings may use the code CLR to skip part of the agility course.
If there are no nuts on the bush, return to the monkeys again with standard monkey nuts and go through the dialouge regarding it until it is finished.
Pets cannot be brought onto the agility course. If you have a pet following you, pick it up to use the course.
Snake
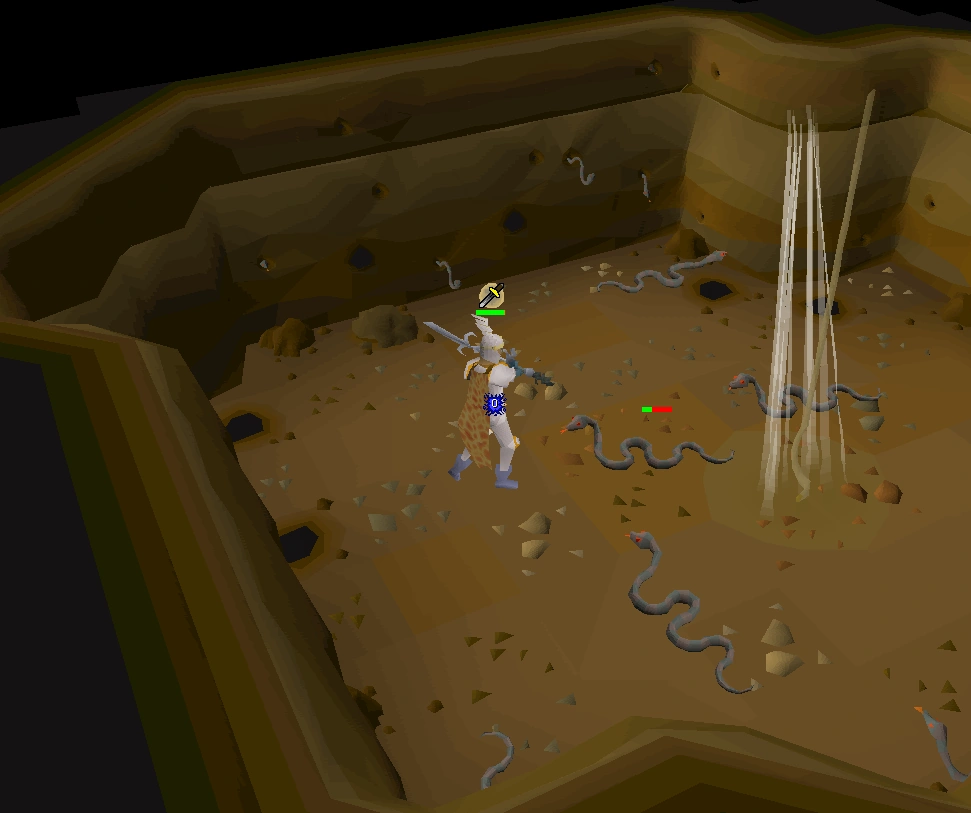
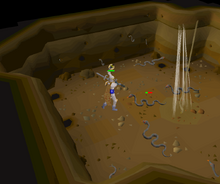
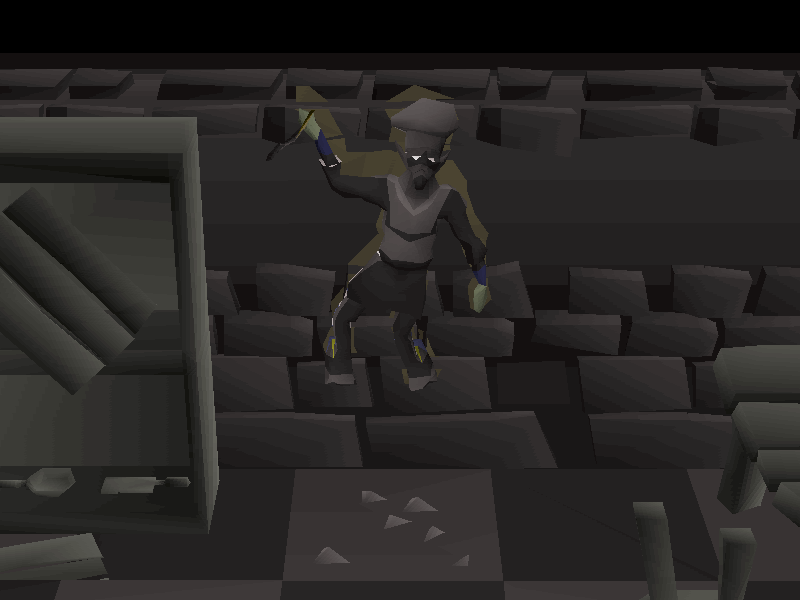
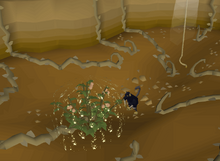
Killing the big snakes in the pit on Crash Island.
Once you have the red banana and tchiki monkey nuts, leave Ape Atoll and return to Crash Island. Go east until you find a large hole in the ground, and enter the cave below.
You will find four level 84 Big Snakes. Since they hit hard and are poisonous, Protect from Melee is advised. Turn it on before entering the cave. Kill one (or more if you have multiple bananas/monkey nuts) and take the snake corpse. You might want to grab multiple corpses since you might accidentally burn the snake. Try to stay away from the walls as more snakes (which are scenery) will appear and attack you.
Warning: If you die in the cave, you will lose all your items and will not be able to recover them!
Cooking the snake

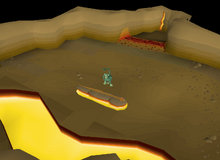
Cooking the snake.
After you have everything, slice the banana and grind the nuts, then stuff your snake with them to create a raw stuffed snake. Do not use the red banana and Tchiki nuts without slicing/grinding them, or it will result in a useless odd stuffed snake. Also, be careful not to eat them yourself.
Go back to Ape Atoll, equip a greegree (you will need your Zombie greegree soon, but cannot run with it equipped), and then go back to the temple. Go down the trapdoor protected by gorillas, then down one of the ramps. There is a crack in the wall between the two bamboo ramps. Go through it, and you will see a patch of hot coals. This is where you need to equip your Zombie greegree, as the hot coals will prevent you from going to the other side. Go to the long rock on the floor, boost your Cooking level if needed, and then, cook the snake on it. It is possible to over-cook the stuffed snake. You will know if you successfully cook or burn the snake, as there will be an animation when you try to cook it.
Travel back to Lumbridge Castle. Right click the stuffed snake, and use it on Awowogei. If you eat it, you'll have to get another one.
Reward
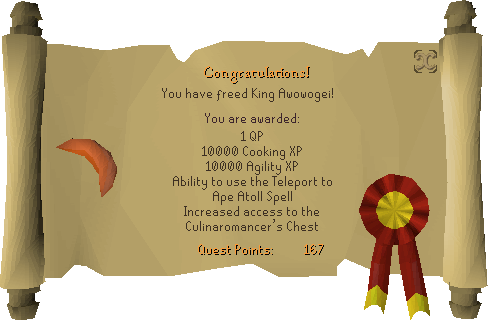
- 1 Quest point
- 10,000 Cooking experience
- 10,000 Agility experience
- Ape Atoll Teleport spell
- (Further) access to the Culinaromancer's Chest
Required
- This Recipe for Disaster subquest is a requirement for Monkey Madness II.
The final battle
Details
| Start point | |
| Official difficulty | Special |
| Description | You have protected all 8 members of the council, but your troubles with the Culinaromancer aren't over yet! He has teleported back to his own dimension, where he'll be ready to cause more trouble. You must defeat him for good! Please note that all prayer will not be allowed in the dimension. You also won't be able to go back and recover your items when you die. You can however teleport from the dimension using an ectophial should you run out of food. |
| Length | Short |
| Requirements |
|
| Items required | Certain items are recommended for each boss. |
| Enemies to defeat |
|
Walkthrough

The Culinaromancer is unfrozen, and escapes back to his dimension!
After you have freed all the council members, you will see a cutscene, where Gypsy Aris restarts time by saying "Tempus procedit!" The Culinaromancer will then retreat through the portal. Aris then says that you too must go through the portal to finish him off.
When you're in the strange dimension, you'll find the Culinaromancer, a few white portals that lead back to Lumbridge, and one of your previous quest bosses. The Culinaromancer is too strong to be defeated until you've defeated the first five bosses. Prayer cannot be used in this dimension. You can leave and stock up after defeating one boss without losing your place in the fight. Items cannot be retrieved on death!
Agrith-Na-Na
This is Agrith Naar from the Shadow of the Storm quest, but he is now made of bananas and is level 146. He uses melee up close and Fire Blast at a distance. Kill him however you like, with food. He drops one banana.
Flambeed
This is Fareed from Desert Treasure. He's level 149 now. You need ice gloves to wield a weapon. He's harder to defeat without prayer, but you should just kill him however you like with lots of food. If you're maging, be sure to use Water spells. If you're ranging, use ice arrows. You can snare him, run away, and then mage him to so you only use little to no food. He drops cakes.
Karamel
This is Kamil from the Desert Treasure quest. Fight her up close with a Fire spell that you're well above the required level to do. Bring stat restore potions (she lowers your stats) and lots of food. A good strategy is to use Fire Bolt with Chaos gauntlets. As per usual, Melee doesn't work on her very well. However, unlike in Desert Treasure, her melee attacks don't do much damage. Since her melee attacks are not very strong, a good tactic is to stand right next to her so she hits you with Melee, which reduces how frequently she uses her ice attacks. Manually casting spells is beneficial due to her freezing effects stopping your auto-attacks. She drops a choc-ice.
Dessourt
This is Dessous from Desert Treasure. Melee doesn't work very well on him, but Magic does. Ranged also works really well on him. Bring lots of food, and then, defeat him as quickly as possible. He drops chocolate dust.
Gelatinnoth Mother
This is the Dagannoth Mother from the Horror from the Deep quest. She can hit over 20 with Melee, but she uses Ranged from a distance, which is weaker (but can still hit up to 40 beware). She changes colour depending on her weakness. She has a low Magic Defence, but high Melee and Ranged Defence. It is best not to bother with Melee or Ranged and just to focus on maging. A great strategy is to mage her while wearing rune armour. Otherwise, she will rip through Mystic robes and other magic robes with her ranged attacks. Your spells will still hit because of her low Magic Defence. She is level 130.
Culinaromancer
After you've defeated the Gelatinnoth Mother, the Culinaromancer himself will attack you. He's level 75, hits high, but has practically no Defence. He uses Magic, but tries to get up close to attack as well. Kill him with any attack and bring food.
")
")
")
")
")
")

_reward_scroll.png)
Congratulations! Quest (finally!) complete!
Reward
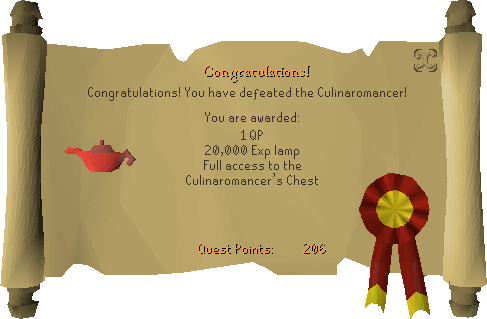
- 1 Quest point
- An experience lamp, which grants 20,000 experience to any skill above 50 (can be banked for later use)
- Full access to the Culinaromancer's Chest
Trivia
- When the player is informed of the universe, he exclaims, "Not the universe! That's where I keep all my stuff." This is a reference to the animated comedy series Futurama.
- Originally, there was yet another subquest to complete involving Osman, however, due to delays in this subquest, it was not released.
- The three monkeys during Awowogei's part is a reference to the three wise monkeys (さんびきのさる sanbikinosaru), who see no evil, hear no evil, and speak no evil.
- Before the release of Grim Tales, this quest had the highest requirement, with 70 Cooking.
- Culinomancer shouts "I'LL BE BACK!" after the player has set free all the guests. This is a reference to Arnold Schwarzenegger's famous catch phrase.