Travel to Miscellania and make your way to the throne room in the castle.(A ring of wealth can teleport you directly there)
Speak to Advisor Ghrim by clicking "Has anything been happening in the kingdom recently?" Ghrim tells you your subjects are worried about the possibility of war: King Vargas has been trying to rule again and is quarrelling with Queen Sigrid of Etceteria. He suggests you talk to the Prince or Princess to learn more.
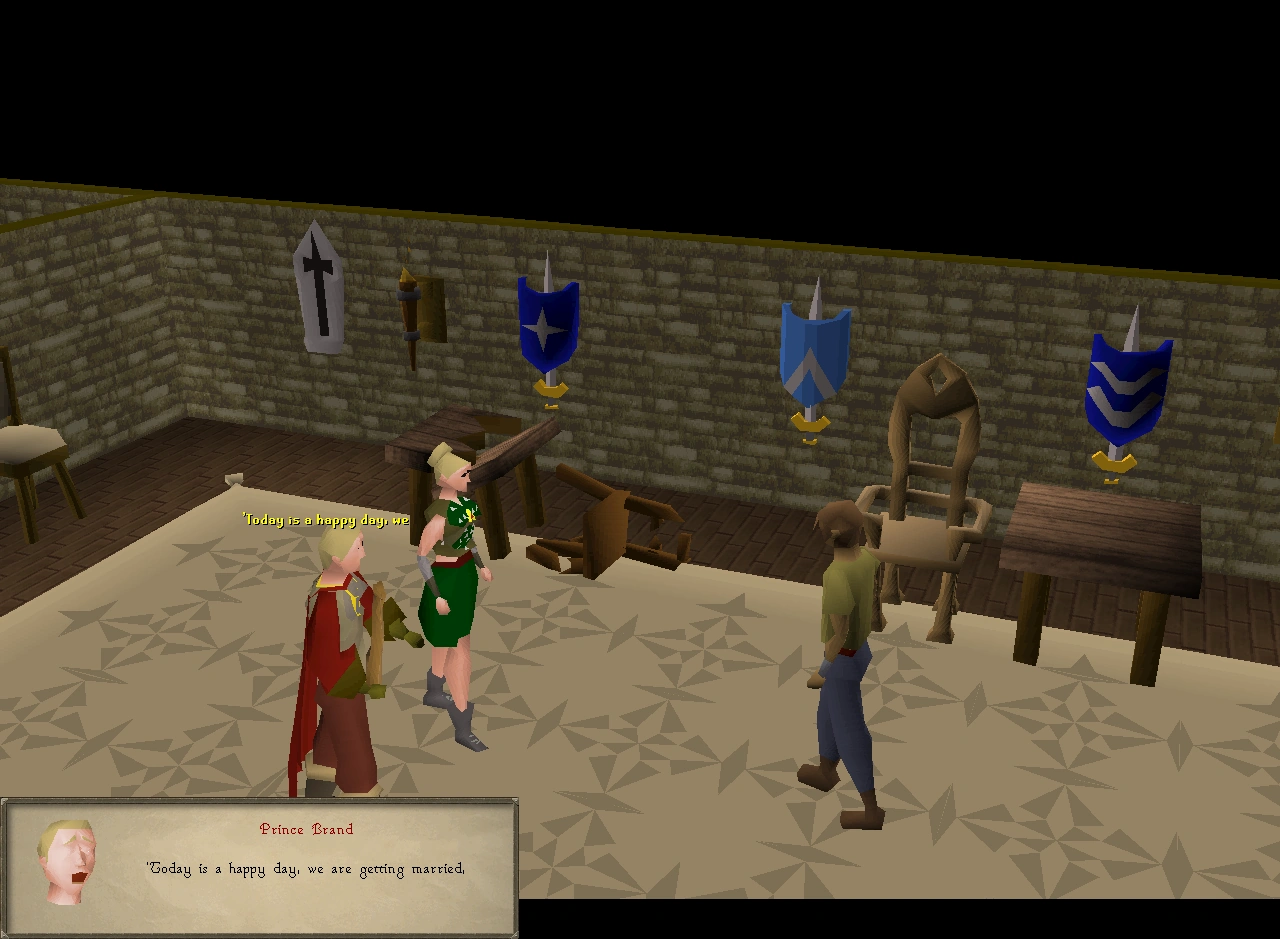
Prince Brand suggests that the player gets Queen Sigrid and King Vargas to marry.
Speak to either Prince Brand or Princess Astrid in one of the rooms next door to the throne room. You see a cut scene in the throne room, where the Prince and Princess explain more about the quarrel between the King and Queen and suggest that you try to persuade the King of Miscellania to marry the Queen of Etceteria. Note: Some players have experienced a glitch when speaking to their betrothed heir in which their dialogue reverts to the original Throne of Miscellania dialogue. Speaking to the other heir allows the quest to move forward, however.
Talk to King Vargas next, however he avoids the subject of the war with Etceteria and tells you instead about items in his kingdom that have been going missing. He asks you to investigate by talking to the citizens of Miscellania and Etceteria.
Exit the castle, and talk about Royal Trouble with Gardener Gunnhild; it is faster than going to anyone else.
Your subject tells you that Etceterian soldiers came and demanded tithes from Miscellanians. Your subjects refused, and the next day they found some of their goods had been stolen.
Go back and talk to the King.
Head east, cross the bridge over into Etceteria, enter the large building in the east side of town.
Climb the stairs to the first floor, enter the centre room, and speak to Queen Sigrid of Etceteria. She tells you her side of the story and says that items from her citizens have also been taken. She asks you to talk to her citizens—and does not miss a chance to criticise the King whenever she is able.
Speak to Matilda just outside the castle; it is faster than going to anyone else. She tells you the same story as the people in Miscellania did but says the thieves are Miscellanian soldiers.
Return to Queen Sigrid, and tell her what you have learned. She suspects Vargas is up to no good and says she has no army. It seems that Miscellania and Etceteria have a misunderstanding.
The dungeons
Head back to King Vargas, and tell him what you have discovered. He is outraged and says that he too has no army. He recommends you speak with Advisor Ghrim.
Speak to Ghrim, selecting "King Vargas asked me to talk to you." He suggests you talk to the Sailor who sails people from Rellekka to find out if he has seen any suspicious characters.
Speak to the Sailor onboard the boat at the docks, selecting the "I'm looking for a sailor ..." option. He mentions "those kids from Rellekka" who said they had come to visit relatives in the dungeons. He goes on to explain a bit about the dungeons.
Note: You have the option to ask the sailor about this only while in Miscellania and not while in Rellekka.
Speak to King Vargas again and you tell him what you learned from the sailor and ask how you can get into the dungeons. He asks you to take a look and gives you a scroll, identifying you as Regent and giving you permission to enter the dungeons.
Note: If you do not already have gear for a fight, now would be a good time to get it. You can find a bank on Etceteria if required. Food and some anti-poison potions would be useful. You should also take five coal with you, or bring a pickaxe (or you can get a bronze pickaxe at the site). There is a bank in Etcteria to prepare for the coming fight.
With the scroll in your inventory, head to the south-west corner of Miscellenia's marketplace, and climb down the ladder to enter the dungeon. The guard takes your scroll as you climb down, and you arrive in a small underground town.
Head to the bar on the eastern side of the underground town, and speak to the dwarf named Donal. He tells he is working on the excavations but has seen a terrible monster. Tell him you will go fight the monster and he tells you a bit about the tunnels, gives you a mining prop, and says you will have to fix the lift.
Walk to the north-west tip of the underground area, where you find two dwarf miners: Ferd and Thorodin.
If you did not bring a pickaxe, choose "Take-axe" from the rocks between the two dwarves. (Note: You CAN use the pickaxe from your tool-belt.)
Use the mining prop on the crevice, and then squeeze through the crevice.
Now, repair the lift using items found in the boxes in the chamber:
Add five chunks of coal to the engine now to save inventory space before you start assembling the whole mechanism If you did not bring coal with you, the chamber has four coal rocks you can mine
Use a pulley beam on the broken scaffold on the east side of the room to attach it
After you step off the lift, take the plank on the ground and then enter the small tunnel to the east.
Follow the cavern east until you see some water.
Use your rope on the overhanging rock, and swing over the water on the ropeswing.
Head east a bit, and search the fire remains to find a burnt diary with one page in the embers. Read the charred diary if you wish, and be sure to keep it.
Follow the bend in the cavern to more water.
Use the plank on each rock to walk over the four slippery rocks. You may take 90 life points of damage here if you do not. Note: If you forgot to pick up a plank, you can stop in front of the rock, and then run across without taking damage.
As you travel through the cavern, search all the fire remains to find and add pages to the burnt diary.
Warning: Do not walk on the steam vents, which will cause 80 life points of damage if you do. Stepping on a steam vent will likely hold you in place, increasing the chance the damage may kill you. Instead, carefully navigate around them. Just as important, keep an eye out for piles of rock on the cavern walls: if you walk near them, the rocks will tumble down and inflict 90 life points of damage. To avoid the rocks, walk in the centre of the cavern and not near the walls. Running pass them also avoids all damage.
There is a very suspicious pile of rocks up there...
Search the last fire remains for the fifth page of the diary, and then follow the bend of the cavern until you come to a crevice in the north wall.
If you do not read the finished diary, you cannot proceed further. Your chatbox dialogue will say "Maybe I should explore the cave more, before I go jumping through any more crevices."
Squeeze through the crevice at the end of the passage.
You see a cut scene involving five lost, young Rellekkans: Armod, Beigarth, Hild, Reinn, and Signy. The teenagers were unable to pass their own trials to become Fremennik so they decided to start a war on the islands and then stop it to be seen as heroes and peacekeepers by their clan.
When the cut scene is over, continue talking with the five. They tell you about what they have stolen and about a sea snake.
Leave the Fremennik teenagers, and follow the bends through the cavern, passing lots of non-aggressive, poisonoussea snake hatchlings and sea snake young, until you come to a shaft of light from the surface and a crevice in the north wall.
The final fight
Before proceeding, prepare for the final boss fight. The snake is not too hard to beat, and you should require little or no food if you are above combat level 70. She fights with Melee up close and Ranged from a distance.
The Protect from Melee prayer works perfectly up close, as the snake cannot detect prayer and will only use Ranged attacks when she cannot reach you. Slashing attacks are effective against her.
If you choose to Mage or Range the snake, turn off auto retaliate and turn on the Protect from Missiles prayer because she will use a ranged attack instead. The snake will poison you if you are damaged (or if you absorb the damage with a protection prayer), and her poison starts at 98 life points, so take a sip from a super antipoison potion either before entering her chamber or as soon as she poisons you (she poisons with melee and range).
The area is multicombat, so a summoning familiar or a dwarf multicannon is useful. Although the official recommendation is 40 Slayer, players may be able to wound the snake at levels as low as 13. If you are using a familiar and it deals the damage that kills the sea snake, you will have to kill her again, even though you got the heavy box.
Squeeze through the crevice.
You enter a chamber filled with hatched and unhatched snake eggs, and the Giant Sea Snake (level 149) emerges out of the water.
Attack the snake and defeat the snake.
After she is dead, take the heavy box she drops, which contains the stolen Etceterian items.
Note: If you log out and do not get the box you can talk to the guard above the exit to get it back.
Squeeze back through the crevice. Through the hole above the chamber, a guard sees you and tosses a rope down for you to climb up.
Climb the rope, and you find yourself just outside the town walls on Etceteria.
She gives you a letter to take to King Vargas (you can choose to read or not read the letter). After the stolen Etceterian items are returned, the heavy box becomes an empty box.
Head back to King Vargas, and speak with him.
Tell him what you learned, and give him the Queen's letter to complete the quest.
Even if you never leave Miscellania after completing "Throne of Miscellania" and start "Royal Trouble" immediately, you still don't know the current doings of your own land.
Before the fight with the giant snake, you pass by younger snakes. Examining the baby snakes produces the lines, "A baby sea snake. Snaaaaaaake!" Examining the snake young says "Snake, snake, oh, it's a young snake..." These are references to lines from "The Badger Song", and the Metal Gear Solid games franchise.
The lift manual frequently mentions "AMCE Pulley-beams-in-a-box." AMCE is an anagram of ACME, the mail-order company in Warner Bros. cartoons often used by Wile E. Coyote to purchase items to catch the Roadrunner. In game, AMCE is an abbreviation for Ali Morrisane's Corporate Enterprises.
If you ask the guard in Miscellania if you can go down into the dungeon before getting permission, the guard will say "You're the regent? Well, I didn't vote for you." The line is similar to one in the movie Monty Python and the Holy Grail.
If your character switches gender between Throne of Miscellania and Royal Trouble, various NPCs will say lines such as "Weren't you a man when we last met?" in this quest.
In the quest, the teenager Reinn says "It would have worked, if it hadn't been for that huge snake!" This is a reference to the cartoon series Scooby-Doo. The music in this area, "Meddling Kids," is also a reference to the teenage detectives in the Scooby-Doo cartoons.
The song "Land Down Under" that you unlock by going down into the dungeon is a reference to a song by the band Men At Work.
In Lithuanian, the word vargas means a problem.
Reinn previously had a female chat head but has a male appearance in-game. This was either because he is a teenager and the difference shows his youth or was simply a glitch.
The empty box at the end of the quest may also be a reference to the Metal Gear Series. Solid Snake uses an empty box to hide himself from enemies. In addition, the examine text of the empty box states, "It says 'To the dungeons' on the side." This too may be a reference, because Solid Snake can use a box as a meaning of transportation if he climbs in a truck and hide himself in one. For example, if the box has "To the Heliport" written on it, Solid Snake would be transported to the heliport.
After the quest, the teens will still be in the dungeon.
Advisor Ghrim tells you to talk to the sailor who brought you to the island in the first place, however it is possible to access the island (and this quest) without ever talking to him by using the fairy ring system or a Miscellania teleport scroll.
While trying to find out what happened, Queen Sigrid calls King Vargas a snake, possibly foreshadowing the final battle.
If you try to enter dungeon on Etceteria side during the quest, guard will stop you saying that he can't let you in, commenting that you will probably "break your bones" if you try. However, when you kill the Giant Sea Snake he is the one that helps you get out by throwing the rope to you in dungeon. When talking again with him, he seems to be surprised that you managed to enter the dungeon "without breaking any bones"
After completing the quest, if you talk to Juna, your character will say, "...So I showed that the war was based on a misunderstanding, and now Miscellania and Etceteria were at peace again!" to which she replies, "War? What is it good for?" to which you say, "Absolutely nothing!" quoting the Edwin Starr song "War".
If you check the stats of the Heavy box it says that it weighs 0.0kg's.
The quest journal shows that you have to defeat a level 150 enemy where in fact the snake is only level 149.
When talking to Advisor Ghrim about the stolen goods, he thinks at first that you are implying that he stole them.
If one drops any of the beams, or the varients of them, they will be shown to stand upright, rather than flat which would be the sensible way to drop them.
The Sea Snake Hatchlings may be a reference to a real snake, the banded sea krait. This snake, like the hatchlings, has dark blue and white bands, is venomous, and is non aggressive toward humans.

